Window Film
Car Window Tint in India: Types & Installation
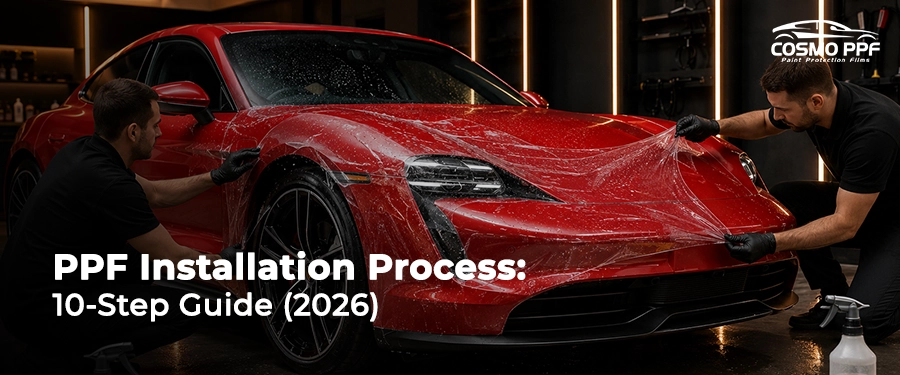
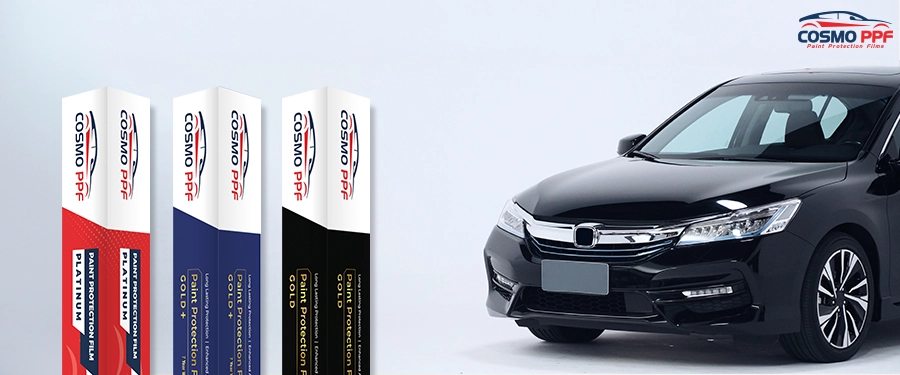
You spent months choosing the right car. The colour is exactly what you wanted, and the paint gleams in the showroom light.
Then one highway drive later, you notice it. There is a stone chip on the bonnet and a fine scratch near the door handle. Swirl marks slowly begin appearing after every wash.
This is where Paint Protection Film (PPF) comes in. It is one of the most effective ways to shield your car's paint from stone chips, scratches, and road debris. However, the film itself is only half the story. The real difference between a flawless, invisible finish and a bubbled, peeling disaster lies in the PPF installation process. Professional PPF installation is a precision craft that demands a dust controlled environment, computer cut patterns, and certified hands. In this step-by-step guide, we walk you through exactly how a trained installer applies paint protection film to your car, so you know what to expect, what to look for, and why professional installation is worth every rupee.
Quick Answer: The PPF Installation Process in 10 Steps
Professional PPF installation is a ten stage process performed in a dust controlled studio and typically takes between a few hours and three days depending on coverage. The film then cures over the following week, during which the car should not be washed. The ten steps are:
The PPF Installation Process: Step-by-Step

Step 1: Inspection and Documentation
Before anything touches the car, a trained installer inspects every panel under bright, angled lighting. The installer documents the paint's condition, identifies existing chips or scratches, and checks paint depth. This determines whether the surface is ready for film or needs correction first. It also protects you, because everything under the film is preserved exactly as it is.
Step 2: Deep Wash and Decontamination
Next comes a complete foam wash with pH neutral shampoo, followed by chemical decontamination. An iron remover dissolves embedded brake dust and industrial fallout, and you can see it turn purple as it works. A clay bar treatment then lifts bonded contaminants that washing alone cannot remove. When this stage is finished, the paint should feel like glass under your hand.
Even brand new cars need this step. Vehicles collect rail dust, transport film residue, and dealership polish long before they reach your driveway.
Step 3: Paint Correction, If Required
If the inspection revealed swirl marks, light scratches, or oxidation, the installer performs machine polishing before any film is applied. Here is a hard truth that many guides skip. PPF preserves flaws just as faithfully as it preserves perfection. Correcting the paint first ensures the film locks in a flawless surface rather than a damaged one.
Step 4: Final Surface Preparation
A panel wipe with an isopropyl alcohol (IPA) solution removes every trace of polish oils, wax, or silicone. This step is invisible in the final result but critical to it, because any residue left behind compromises the film's adhesion and shortens its life.
Step 5: Computer Cut Pattern Preparation
Rather than cutting film freehand on your car, professional installers use plotter cutting software with pre-programmed patterns matched to your exact vehicle model. The film is cut on a dedicated table, panel by panel, with millimeter accuracy. This is one of the clearest markers that separate a professional studio from an amateur job. No blade should ever meet your paint.
Step 6: Slip Solution and Film Positioning
The installer sprays a slip solution, which is a precise mix of distilled water and a mild surfactant, onto both the panel and the adhesive side of the film. This allows the film to float freely on the surface so it can be aligned perfectly against body lines, badges, and panel edges without sticking prematurely. Positioning is unhurried and deliberate, because alignment errors at this stage cannot be fixed later.
Step 7: Tack and Squeegee Technique
Once the alignment is locked, the installer switches to a tack solution to anchor key corners. The installer then works a soft edge squeegee from the center of the panel outward in firm, overlapping strokes. The goal is to evacuate every trace of water and air without stretching the film. This balance of pressure and patience is exactly what certified training builds over hundreds of panels. Body lines and recessed areas receive special attention, as these are the places where moisture loves to hide.
Step 8: Edge Wrapping, the Signature of Certified Hands
This is the step that separates a professional installation from everything else. The installer wraps the film around panel edges, tucking it behind rubber seals and into panel gaps so that no raw edge is visible or exposed. Gentle, controlled heat makes the film pliable enough to conform to curves without stress. When this is done right, the film becomes effectively invisible and the edges never lift.
Step 9: Heat Forming and Final Inspection
A heat gun or infrared lamp is passed evenly over each panel to activate the adhesive, set the film into the paint's texture, and trigger the self-healing top coat. The installer then inspects every panel under bright light from multiple angles, checking for trapped moisture (a cloudy effect called silvering), micro bubbles, and edge adhesion. Anything less than perfect gets reworked before the car leaves the bay.
Step 10: Curing
The final step requires nothing from the installer and a little patience from you. The adhesive continues bonding for 24 to 48 hours after installation, and full curing takes 7 to 10 days. During the first week you may notice slight haziness or small moisture pockets under the film. This is completely normal and clear on its own as the remaining moisture evaporates.
What Is a Paint Protection Film?

Paint protection film is a transparent thermoplastic polyurethane (TPU) layer, typically 6 to 8 mils thick, that is applied directly over your car's painted surfaces. Think of it as invisible armour for your vehicle.
A quality TPU film protects against stone chips, light scratches, bird droppings, bug acids, UV fading, and parking lot scuffs. Premium films also feature self-healing technology, which means minor swirl marks and fine scratches disappear on their own with heat exposure, keeping the surface looking freshly detailed for years.
There is a truth that most car owners discover too late. The film is only as good as the hands that install it. A premium film applied poorly will bubble, peel, and yellow. That is why understanding the professional installation process matters before you book your car in.
Why Installation Quality Matters More Than the Film
PPF locks in whatever is underneath it, and it does so permanently. A speck of dust trapped under the film becomes a permanent bump. A scratch left uncorrected stays visible for the life of the film. An edge that is not properly wrapped starts lifting within weeks.
This is why professional installation happens in conditions that most garages simply cannot replicate.
Airborne particles are the number one enemy of a clean install, which is why professional studios use sealed and filtered environments.
Film behaves best between 20°C and 30°C. If it is too cold, the film will not stretch or conform. If it is too hot, it tacks before it can be positioned. In Indian conditions, where summer heat, monsoon humidity, and dust are all working against you, a climate controlled studio is not a luxury but a requirement.
Professional installers use computer cutting software loaded with exact panel patterns for your car's brand and model, so no blade ever touches your paint.
Squeegee pressure, tension control, and edge wrapping are skills built over hundreds of installations, not on a first attempt on your bonnet.
What Affects PPF Installation Cost?
PPF pricing in India varies widely and understanding why helps you compare quotes intelligently. Four factors drive the final price.
1. Coverage area
A front bumper or full front end costs a fraction of a full body installation, simply because it uses less film and less studio time. Partial coverage packages start at accessible price points, while full body protection for larger vehicles sits at the premium end of the range.
2. Film tier
A flagship film with a lifetime warranty and greater thickness costs more than an entry level film, because you are paying for longer protection and stronger self-healing performance.
3. Vehicle size and complexity
A compact hatchback needs less film than a full size SUV, and vehicles with complex curves, deep creases, or extensive badging take longer to wrap cleanly.
4. Installer and studio quality
A certified installer working in a climate controlled bay with plotter cut patterns charges more than a roadside shop, and that difference is precisely what protects your paint and your warranty.
Be cautious of quotes that seem too good to be true. A low price usually signals inferior film, freehand cutting, or an uncontrolled environment, and the cost of correcting a failed installation far exceeds the savings.
How Long Does Professional PPF Installation Take?
|
Coverage |
Typical Time |
|
Front bumper only |
3 to 4 hours |
|
Full front end (bonnet, bumper, fenders, mirrors) |
6 to 8 hours |
|
Full body |
1 to 2 days |
The timeline depends on the coverage you choose.
A professional studio will never rush this process. Surface preparation alone accounts for nearly a third of the total time, because the finish quality is decided long before the film comes out.
How Do You Care for PPF in the First Week?

Follow these guidelines to let the film cure properly.
After curing, care is simple. Wash the car regularly by hand with a pH neutral shampoo and a soft microfiber cloth, and avoid aiming high pressure jets directly at film edges. Many owners also add a ceramic coating over the PPF for extra gloss and easier cleaning. The film always goes on first, and the coating goes on top.
How to Spot an Amateur PPF Installation
Whether you are inspecting a fresh install or evaluating a studio before booking, these are the red flags that reveal amateur work.
Professionals install wrap edges around the panel or tuck them under seals. If you can see a raw edge sitting on the panel face, corners will start lifting within months.
Even one or two visible particles mean the environment was not controlled. These are permanent.
Run a fingernail along panel edges. Freehand blade cutting leaves fine score lines in the clear coat, which is exactly the damage the film was meant to prevent.
Overstretched film shows a warped, lens-like effect around curves and corners, and it will fail early at those stress points.
Film that stops short of panel edges or sits unevenly around badges and sensors indicates generic or hand cut patterns rather than model specific plotter files.
A professional installation comes with a documented warranty registered against your vehicle. If the studio cannot produce warranty terms in writing, the film is unlikely to be genuine.
If a finished install shows any of these signs, raise it with the studio immediately, and photograph everything before you drive away.
Why Professional Installation Protects Your Investment
Beyond finish quality, there is a practical reason to insist on certified installation, and that is warranty coverage. Premium films such as Cosmo PPF are backed by manufacturer warranties against yellowing, peeling, and cracking, and that protection is tied to installation through an authorised network. A certified Cosmo PPF installer works in a controlled studio, uses model specific computer cut patterns, and is trained on the film's exact handling characteristics. This is why the warranty stands behind their work.
Which Cosmo PPF Tier Should You Choose?
|
Tier |
Thickness |
Warranty |
Self-Healing |
Best For |
|
Platinum |
210 microns |
Lifetime |
Yes |
Luxury and flagship vehicles, long term ownership |
|
Gold+ |
185 microns |
[Confirm with product team] |
Yes |
[Confirm positioning] |
|
Gold |
185 microns |
Non yellowing warranty up to 5 years |
Yes |
Daily driven premium cars |
|
Silver |
180 microns |
[Confirm with product team] |
[Confirm] |
Value focused protection |
The installation process you have just read remains the same disciplined craft across every tier. The film tier determines the level of protection and longevity.
Your certified installer will recommend the right tier based on your vehicle, driving conditions, and how long you plan to keep the car.
PPF Installation Process Frequently Asked Questions
1. How is PPF installed on a car?
Professional PPF installation follows a ten stage process. It begins with inspection, followed by a deep wash and decontamination, paint correction if needed, IPA surface preparation, computer cut pattern preparation, slip solution positioning, tack and squeegee application, edge wrapping, and heat forming with a final inspection. The process concludes with a curing period of 7 to 10 days.
2. How long does PPF installation take?
A front bumper takes around 3 to 4 hours, a full front end takes 6 to 8 hours, and a full body installation takes 1 to 2 days at a professional studio.
3. Can I install PPF myself at home?
It is technically possible but not recommended. Without a dust free environment, plotter cut patterns, and trained technique, DIY installs commonly suffer from trapped dust, bubbles, stretched film, and lifting edges. DIY installation also typically voids the manufacturer warranty.
4. How long after PPF installation can I wash my car?
Wait at least 7 days. The adhesive needs this time to fully bond. After that, hand washing with a pH neutral shampoo is ideal.
5. Why does my new PPF look slightly cloudy?
Light haziness or small moisture spots in the first 7 to 10 days are normal. This is trapped moisture evaporating as the film cures. If the cloudiness persists beyond two weeks, have your installer inspect it.
6. How long does PPF last?
A quality TPU film that is professionally installed lasts 7 to 10 years with basic care, depending on the film tier and driving conditions.
7. Will PPF damage my paint when removed?
No. Professionally installed and removed PPF leaves factory paint intact. In fact, the paint underneath is typically in better condition than the unprotected panels around it.
8. Can I apply ceramic coating over PPF?
Yes, and it is a popular combination. The PPF goes on first for physical protection, and the ceramic coating on top adds hydrophobic gloss and makes maintenance easier.
See the Craft for Yourself
The best way to understand professional PPF installation is to watch certified hands at work. Visit an authorised Cosmo PPF studio near you to see the process in person, explore the Platinum, Gold+, Gold, and Silver ranges, and get a coverage recommendation matched to your car and driving conditions.
[Find your nearest certified Cosmo PPF installer →]